Filling cracks in concrete is essential for maintaining the integrity and appearance of your concrete structures, whether a driveway, patio, or sidewalk. This guide will thoroughly understand how to fill cracks in concrete, ensuring a durable and visually appealing finish. Understanding how to fill in cracks in concrete enhances your property’s aesthetics and prevents further structural damage. Timely intervention can save significant repair costs in the future.
Tools and Materials Needed
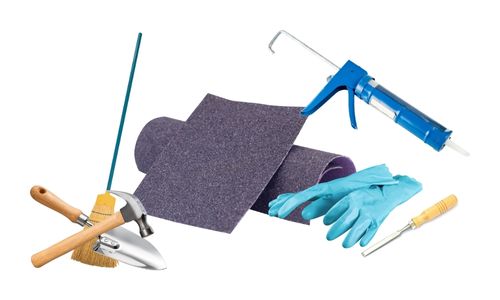
Before you begin the repair process, you must gather the right tools and materials. These typically include:
- Concrete Patching Compound: Used to fill and seal cracks, providing a durable repair.
- Caulk Gun: Essential for applying tube-based crack fillers accurately and efficiently.
- Chisel: Helps to remove loose and damaged concrete from the crack, preparing it for repair.
- Hammer: Works with the chisel to widen cracks slightly for better filler adhesion.
- Wire Brush: Cleans out dirt, debris, and loose particles within the crack to ensure a clean surface for the filler.
- Broom or Vacuum: Essential for removing all fine particles and dust after chiseling and brushing, ensuring the crack is pristine before filling.
- Trowel: Used to apply and smooth the filler material over the crack, ensuring it is evenly distributed.
- Sandpaper: Sandpaper smooths the dried filler, blending the repair into the surrounding concrete surface.
- Protective Gloves: Necessary to protect hands from sharp edges and chemicals during the repair process.
- Safety Glasses: Provide eye protection from flying debris and dust during preparation and filling of cracks.
To ensure efficiency, organize your tools and materials before starting, and make sure you have protective gear to avoid injuries. This proactive preparation facilitates a smoother repair process, allowing you to fill concrete cracks efficiently.
Identifying Types of Cracks

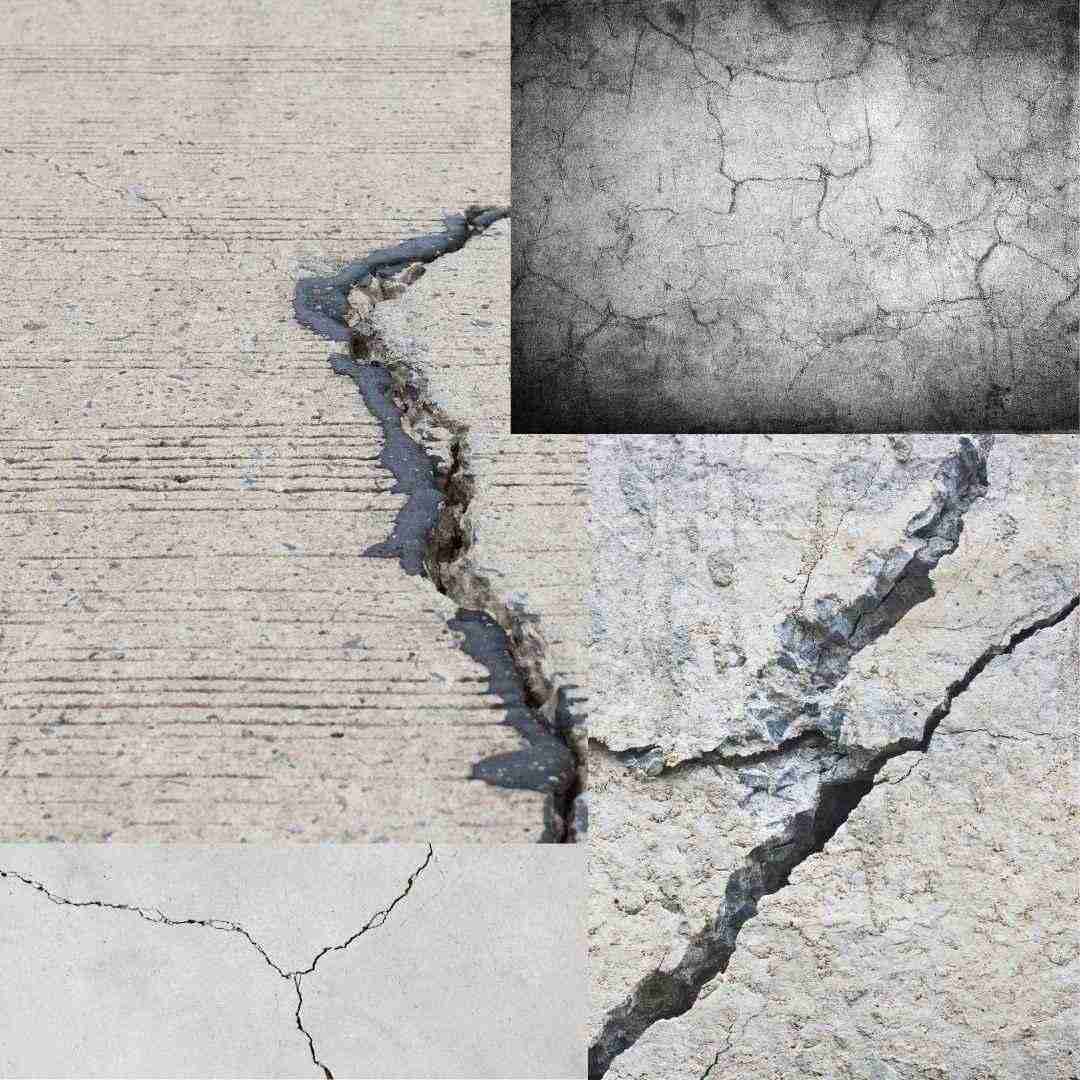
Not all concrete cracks are created equal. Identifying the type of crack you are dealing with is crucial as it determines the repair approach. Cracks can be non-structural (hairline cracks) or structural (wide cracks), requiring different materials and methods for effective repair. Understanding the cause of the cracks, whether from thermal expansion, subsoil settlement, or moisture infiltration, will further guide your filling strategy. This diagnostic step is essential in choosing the most effective repair method for filling cracks in concrete. Types of cracks include:
- Hairline Cracks (Non-structural): Small, thin cracks that may not affect the structural integrity but can worsen if not treated.
- Wide Cracks (Structural): Larger gaps that can compromise the structural stability of the concrete and require more robust repair solutions.
- Settlement Cracks: These occur due to the subsoil shifting or settling after the concrete has been poured, needing careful assessment and repair.
- Thermal Cracks: Caused by the expansion and contraction of concrete as temperatures change, often requiring flexible fillers to cope with ongoing movement.
- Moisture Infiltration Cracks: Due to water seeping into existing cracks, exacerbating damage, especially in freeze-thaw conditions.
Preparing the Crack for Repair
Proper preparation is key to a successful repair. Start using a chisel and hammer to remove loose concrete from the crack. Clean all debris with a wire brush, broom, or vacuum to ensure the filler material adheres well. A thoroughly prepared crack improves the filler’s longevity and effectiveness. Assessing the depth of the crack is crucial, as deeper cracks may require a different approach to ensure the filler material bonds well and provides a long-lasting repair.
Choosing the Right Filler Material
The appropriate filler material is vital for the repair’s durability and aesthetics. For smaller hairline cracks, a flexible sealant or caulk is often sufficient. For larger structural cracks, you may need a stronger, more rigid filler like epoxy or a vinyl concrete patching compound. The choice of filler can affect the elasticity and shrinkage of the repair site, factors that are crucial in environments with extreme temperature variations. Ensure the filler material is compatible with the concrete’s expansion and contraction to avoid future cracks.
Step-by-Step Guide to Filling Cracks
When addressing the challenge of how to fill concrete cracks effectively, it’s important to follow a meticulous, step-by-step approach to ensure the best results. Filling cracks in concrete isn’t just about aesthetics; it’s about extending the life and integrity of your concrete surfaces. This guide will walk you through each crucial step, from preparing the crack to applying the final touch-up, providing practical tips for small-scale and filling large cracks in concrete. Let’s start:
Gather Necessary Tools and Materials
Ensure all tools and materials are ready and within reach before starting the repair process. Having everything at hand reduces downtime and increases the efficiency of the filling process.
Clean the Crack Thoroughly
Remove all dirt and debris from the crack using a broom, vacuum, or wire brush to ensure a clean surface for the filler to adhere to. This step is critical in preventing future failures in the repair.

Prepare the Crack for Filling
Widen the crack slightly with a chisel and hammer to create a better bond for the filler material. This pre-filling step ensures the filler has enough space to anchor, increasing the filled crack’s strength.
Choose the Right Filler
Select a filler material appropriate for the width and type of crack you are repairing. Ensure the product is specifically designed for the type of crack and the exposure conditions of the concrete.
Apply the Filler Correctly
Fill the crack with the chosen material, using a caulk gun for tube-based fillers or a trowel for mixable fillers. Be sure to press the filler down firmly to remove any air pockets. Proper application is crucial to avoid future shrinkage and ensure a smooth finish.

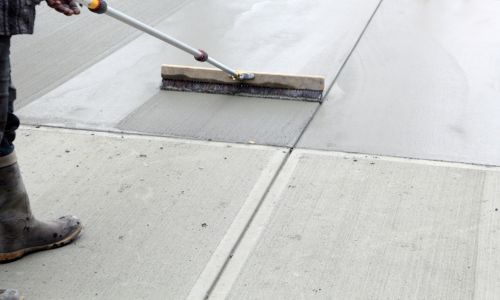
Smooth and Level the Surface
Use a trowel to smooth out the filler, ensuring it is level with the surrounding concrete surface. A smooth application prevents water accumulation and further deterioration.
Allow the Filler to Dry Completely
Consult the filler material’s instructions for drying times. Avoid walking on or applying pressure to the filler during this period. Proper curing is essential for the durability of the repair.
Sand the Filled Area for a Smooth Finish
Once the filler has dried completely, lightly sand the area to ensure a smooth, even surface. This step is crucial for aesthetics and maintaining uniformity with the surrounding concrete.
Apply a Final Touch-Up
If necessary, apply additional filler to any areas that may have settled or shrunk during drying. This ensures the fill remains level and continuous with the rest of the surface.
Inspect the Repair and Make Adjustments
Check the filled crack for any imperfections or areas needing additional work. Regular inspection and maintenance can extend the life of the repair and prevent new cracks from forming.
Preventive Measures to Avoid Future Cracks
To minimize the likelihood of future cracks, consider these preventive measures:
- Properly prepare the concrete mix and ensure adequate curing time.
- Apply a concrete sealer to help prevent water infiltration.
- Control joints can be placed in the concrete to manage where cracks may occur.
Implementing these strategies can significantly reduce the risk of cracks reoccurring, thus maintaining the structural integrity and aesthetic of your concrete surfaces.

In Conclusion
Professional concrete crack filling service is a straightforward process that can greatly extend the life of your concrete surfaces. Following these steps and choosing the right materials, you can effectively repair and prevent future damage, maintaining a clean and stable concrete surface. Whether dealing with hairline cracks or filling large cracks in concrete, this guide provides all the information you need to achieve professional results. Regular maintenance and timely repairs are the keys to preserving your concrete for years.
FAQs on How to Fill Cracks in Concrete
How to Fill Concrete Cracks?
Clean and widen the crack, then apply a suitable filler caulk for small, epoxy, or patch for larger cracks. Smooth the surface and let it dry. This method effectively addresses how to fill cracks in concrete for long-lasting results.
How to Fill in Cracks in Concrete?
Identify the crack type, clean it, apply the chosen filler deeply, and smooth it out. Use caulk for minor cracks and a patching compound for larger ones. This process ensures the filling concrete cracks method is thorough and durable.
What Should I Use to Fill Cracks in Concrete?
Use silicone or polyurethane caulk for narrow cracks. For wider cracks, opt for a vinyl patching compound or epoxy. Choosing the right material is key to effectively filling the cracks in the concrete and ensuring structural integrity.
What Is the Best Way to Fill Cracks?
Clean the crack, widen it, select a suitable filler, apply it thoroughly, smooth it, and let it cure fully. This is the best way to fix cracks, providing a sturdy and seamless repair.
How to Apply Crack Filler?
Clean and widen the crack. Apply the filler using a caulk gun or trowel, ensuring it fills deeply and evenly. Smooth the surface and let it cure according to the manufacturer’s instructions. Proper application is crucial in effectively filling large cracks in concrete.

