Stripping a parking lot is not only about aesthetics but also about ensuring optimal functionality and safety of the space. Whether you’re contemplating how to stripe a parking lot for the first time or looking to refine your technique, this guide provides a detailed, step-by-step approach to help you master the process. From understanding the basics, like how to paint parking lines, to figuring out how much it costs to stripe a parking lot, this tutorial covers everything you need.
Moreover, you’ll learn about the best tools, materials, and techniques for striping parking lines, ensuring your project adheres to commercial parking lot striping standards. Let’s dive into how to line stripe a parking lot effectively, focusing on quality results and efficiency.
Tools and Materials Needed
Before diving into the actual striping process, it’s crucial to assemble all the right tools and materials. For effective parking lot paint striping, ensure you have everything from a high-quality striping machine to the appropriate types of paint for durability and visibility. Proper preparation with the right tools is the first step toward a successful stripe parking lot project. Check out the tools and materials you need:
List of Essential Tools
For striping a parking lot, you will need:
- Striping machine: Essential for efficient and straight lines.
- Tape Measure and Chalk Line: This is for accurate measurements and pre-marking.
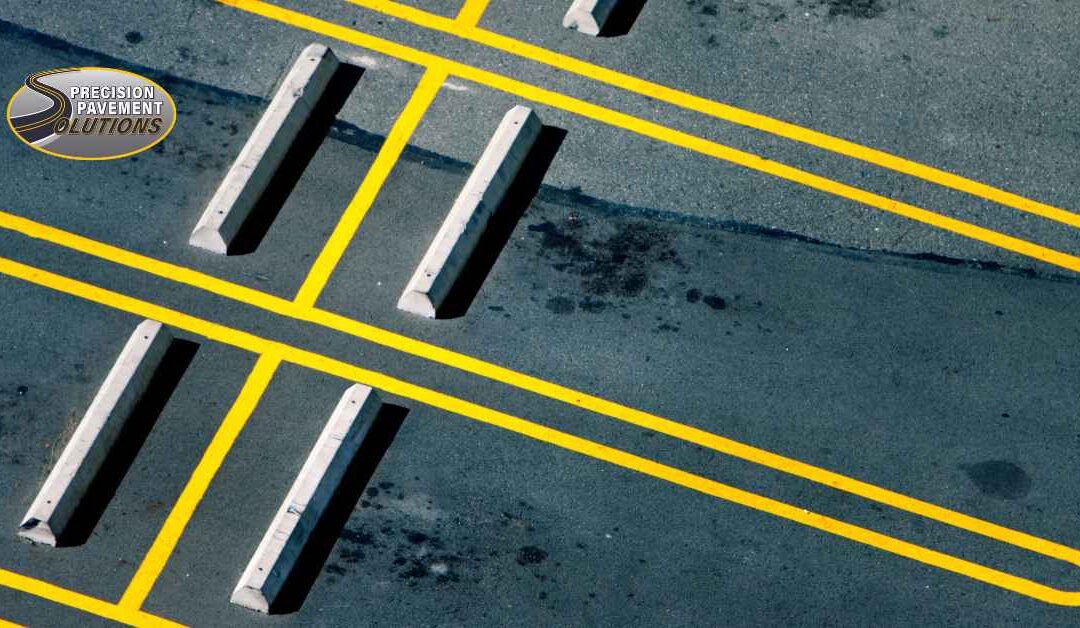
- Wheel Stopper: To mark the end of a parking slot.

Types of Paint and Their Applications
Choose a durable and visible paint specific for outdoor and pavement use:
- Thermoplastic Paint: Known for longevity and reflectiveness.
- Water-Based Acrylic Paint: Ideal for a quick-dry and environmentally friendly option.
Safety Gear Recommendations
Safety should never be compromised. Use:
- High-visibility vests
- Safety cones
- Protective gloves
- Face masks for fume protection
Planning Your Project
Effective planning is critical when striping a parking lot. Carefully design your layout, measure and mark the area accurately, and check local regulations to ensure compliance. Planning thoroughly can help you avoid common pitfalls and streamline the entire process, making your parking lot markings precise and standard.
Design and Layout
Plan your layout according to the size and shape of your lot. Consider the flow of traffic and the accessibility required for handicapped spaces.
Measuring and Marking
Accurately measure and use a chalk line to pre-mark where the lines will go, ensuring your stripes are straight and evenly spaced.

Checking Local Regulations
Always check with your local city or county for any specific regulations concerning parking lot markings to ensure compliance.
Preparing the Parking Lot
Preparation of the surface is key to achieving a long-lasting and professional finish. This involves cleaning, clearing, and possibly repairing the parking lot surface before any paint is applied. Get how to prepare the lot to ensure the paint adheres well and the final result looks clean and professional. Clean the surface thoroughly, removing debris, dirt, and old paint. Repair any potholes or cracks, as these imperfections can affect the final result.
Painting Techniques
Once the lot is prepped, it’s time to get down to painting. Explore various techniques, from using a striping machine for high efficiency and consistency to hand-painting techniques for smaller areas. You’ll learn how to paint a parking lot effectively, including tips on applying reflective paint for enhanced visibility and safety.
Using a Striping Machine
A striping machine will help ensure your lines are neat and uniform. Fill the machine with paint, align it with your chalk marks, and move at a steady pace.
Hand Painting Techniques
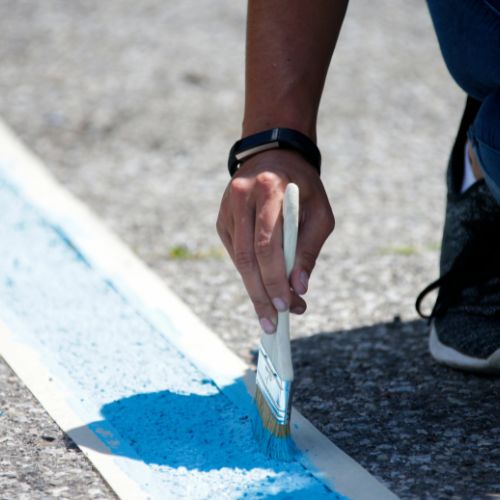
For smaller areas or touch-ups, a paint roller or brush can be used. This requires a steady hand and an eye for detail.
Applying Reflective Paint
For enhanced visibility, especially at night, consider applying a layer of reflective paint over the base coat.
Finishing Touches
After the stripes are painted, certain finishing touches are required to complete the project. This includes cleaning up any excess paint, installing necessary signage like stop signs and directional arrows, and setting up barriers to protect the freshly painted areas. These final steps ensure the functionality and neat appearance of your parking lot.
Removing Any Excess Paint or Markings
Clean up any spills or drips immediately with the appropriate solvent to keep your work looking professional.
Installing Signage If Needed
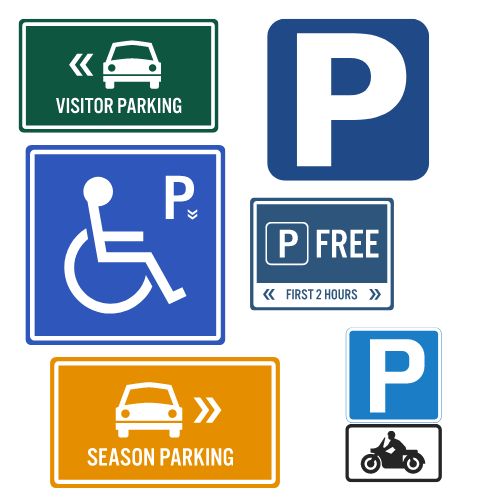
Ensure all necessary signage is clearly visible and appropriately placed to direct traffic safely around the parking lot, such as stop signs and directional arrows.
Barrier Installation for Freshly Painted Areas
Set up barriers to prevent cars from driving over the paint before it has fully dried, protecting your hard work.

Maintenance and Upkeep
Regularly inspect your parking lot for wear and tear. Schedule touch-up jobs with professional Service providers as needed to maintain visibility and safety. Moreover:
- Periodically check the parking lot for wear and tear, especially after severe weather.
- Repaint lines every 1-2 years to maintain visibility and safety.
- Keep the parking lot clean from debris and oil spills to prolong the life of the paint.
- Apply sealcoating every few years to protect the surface and the painted lines.
- Fix any cracks or potholes immediately to prevent further damage and ensure a smooth surface for repainting.
- Watch for signs of paint fading or peeling and address these issues promptly.
- Ensure reflective paint remains effective by reapplying it as needed.
- Regularly check and clean signs, ensuring they are clearly visible and in good condition.
- Ensure barriers and cones are intact and properly positioned to protect freshly painted areas.
- Keep a record of all maintenance activities to track the condition and upkeep schedule of the parking lot.
Troubleshooting Common Issues
Some common issues include paint peeling, fading, and uneven lines. Regular maintenance checks can help mitigate these problems before they become significant. Additionally:
- Repaint lines as needed to maintain visibility.
- Ensure proper surface preparation before repainting to avoid peeling.
- Use a striping machine or straight edge for consistent line width.
- Clean immediately with the appropriate solvent to avoid permanent marks.
- Repair cracks before repainting to ensure a smooth surface.
- Reapply reflective paint periodically to maintain visibility at night.
- Ensure the surface is completely dry and clean before painting to prevent bubbles.
- Measure and mark accurately before painting to ensure proper alignment.
- Avoid painting in adverse weather conditions to prevent paint damage.
- Check local regulations and guidelines to ensure all markings are
Final Thoughts
Professional parking lot striping improves the aesthetic appeal of your property and enhances operational efficiency and safety. Whether you’re looking to learn how to paint parking lines for a small lot or need to understand how much to stripe a parking lot commercially, following these detailed steps will help you achieve professional results.
FAQs On How to Stripe a Parking Lot
How to Stripe a Parking Lot?
To stripe a parking lot:
- Plan and Design: Determine the layout and design, considering traffic flow and regulations.
- Gather Tools and Materials: Obtain a striping machine, tape measure, chalk line, and appropriate paint.
- Prepare the Surface: Clean the parking lot thoroughly and repair any cracks or potholes.
- Mark the Lines: Use a tape measure and chalk line to mark where the lines will go.
- Paint the Lines: Use a striping machine to paint the lines, following the pre-marked guides.
- Finishing Touches: Allow the paint to dry, remove any excess paint, and install necessary signage.
How to Paint Parking Lines?
To paint parking lines:
- Measure and Mark: Use a tape measure and chalk line to outline the parking lines.
- Prepare the Paint: Choose the appropriate paint for your surface and fill the striping machine.
- Paint Using a Machine: Align the machine with your marks and apply the paint in steady, even passes.
- Dry and Inspect: Let the paint dry completely and inspect for any touch-ups needed.
How to Paint a Parking Lot?
To paint a parking lot:
- Clean and Repair: Clear debris and fix any surface damage.
- Layout Design: Plan the design and use chalk to mark the lines.
- Select Paint: Choose durable, weather-resistant paint.
- Striping Machine: Use a striping machine for straight, consistent lines.
- Apply Paint: Paint the lines, let them dry, and add any necessary reflective paint.
- Finishing: Install signage and barriers to protect freshly painted areas.
How Much to Stripe a Parking Lot?
The cost to stripe a parking lot depends on:
- Size of the Lot: Larger lots require more paint and labor.
- Type of Paint: High-quality, durable paints cost more.
- Complexity of Design: More detailed layouts require more time and resources.
- Local Labor Costs: Prices can vary based on regional labor rates.
- Additional Features: Reflective paint, signage, and stencils add to the cost.
How Much Does Stripe a Parking Lot Cost?
The cost to stripe a parking lot typically ranges from $300 to $600 for a small to medium-sized lot. Factors influencing this cost include:
- Size: Larger lots can cost upwards of $1,000 or more.
- Paint Quality: Premium paints increase the overall cost.
- Design Complexity: More complex designs and additional markings like arrows and handicapped symbols add to the cost.
- Regional Variations: Labor and material costs vary by location.
- Maintenance: Regular maintenance and re-striping add to long-term costs.


